
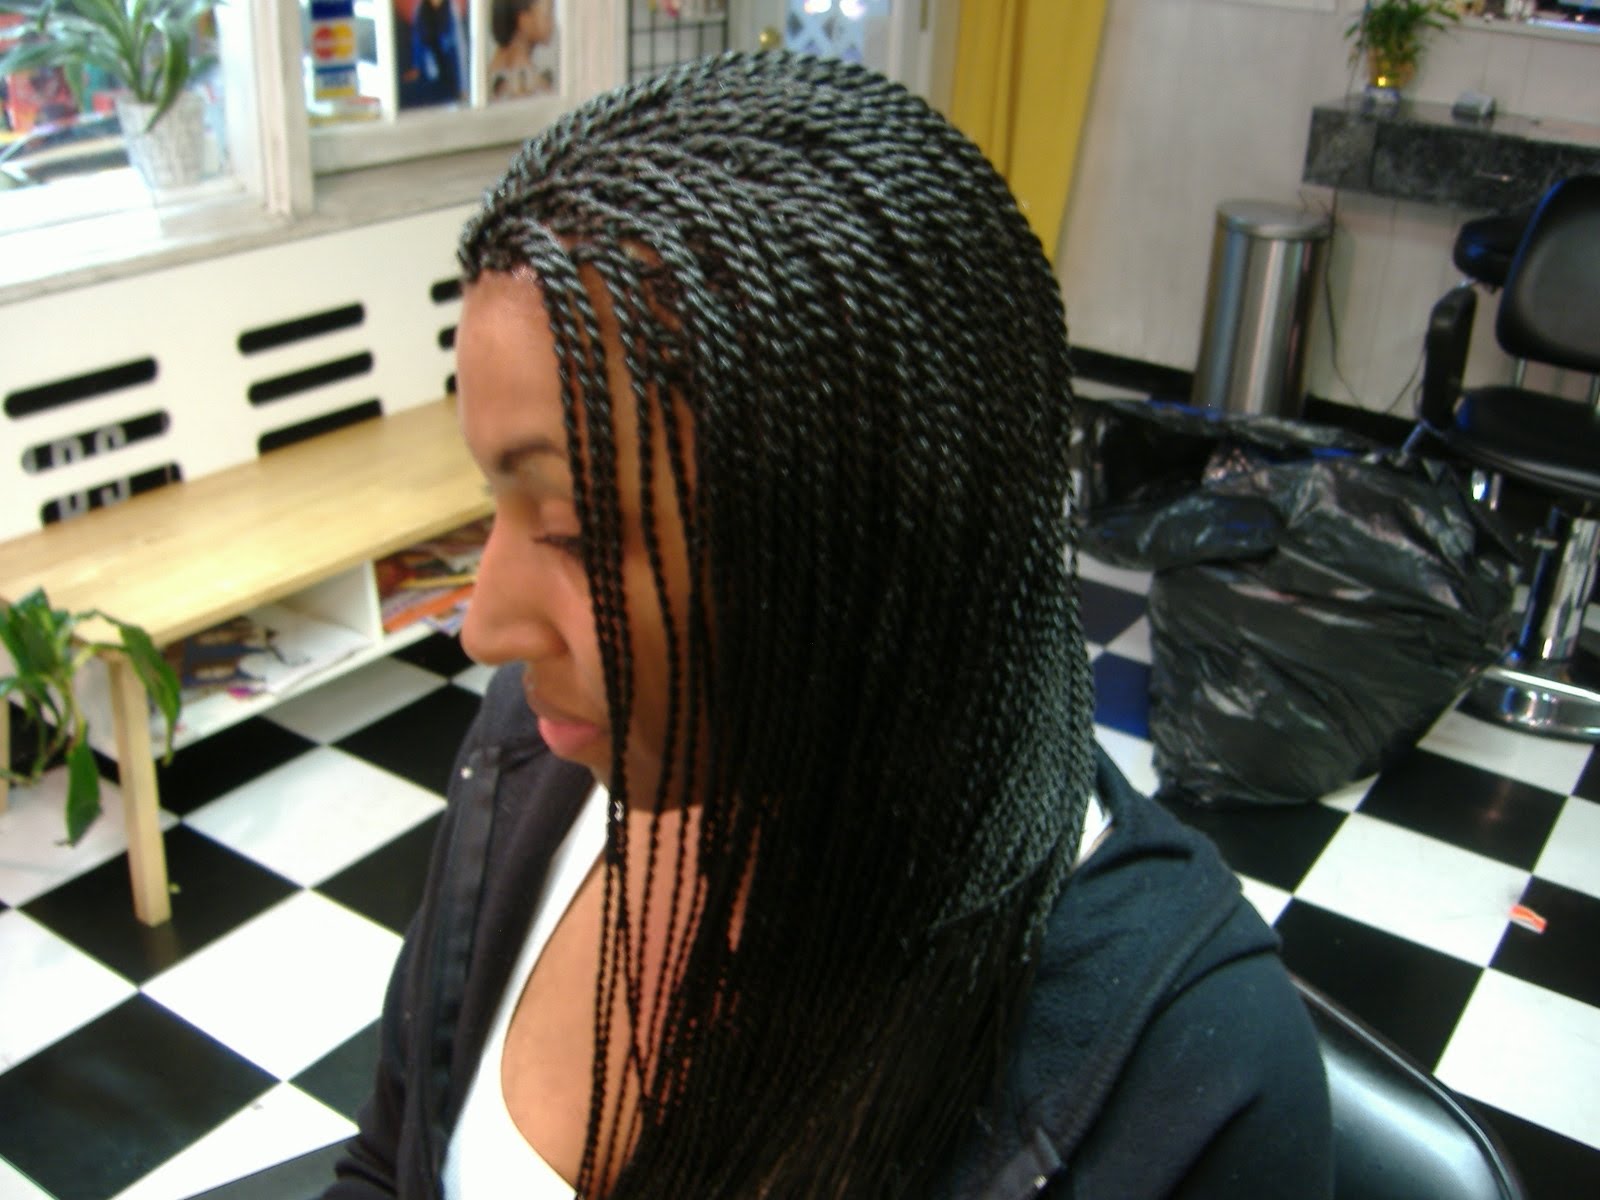
So I got my hair done in the Senegalese twist last weekend and I am pleased with the results. The hairdresser, upon leaving my home (after a 5 hour housecall) gave me her fees for when I want to freshen up the hairline when my hair starts to grow out. But the thing is, poor woman, as sweet, pleasant and professional as she is, she doesn't know that I may not be calling her back for the hairline job. That's because I plan to master this elusive technique once and for all.
Ever since I first had my hair done in Senegalese twists four years ago I have been quizzing my hairdresser friends and braidists about the technique. All of them are mum on the subject. It's as though it is a members only secret club where only a few can be privy to the technique of the Senegalese twist (insert eye roll here).
Then I found out the reason behind the secrecy. Hairdressers are now charging 500 TT (approx 83 US) to part with their knowledge of the technique. Can you imagine that?
One hairdresser friend said she was taught only part one of the technique (there's also the seneaglese corn rows) and had to practice on her own before mastering it.
I pointed the dear lady to youtube where I found this helpful video.
Honestly though it is a tricky process, even with the video in front of you. But I am determined to get it right. Infact, I am really challenging myself to master this technique. I will, of course, keep you posted on my progress.
If you're the kind of person who can follow written instructions, you'd find this Step by Step guide I found at www.black-women-beauty-central.com quite useful.
Step By Step Senegalese Twist Braid Instructions
What You Need
Tail Comb
2 Small Hair Clips
Flake Free Hair Gel or Light Hair Wax (optional)
Synthetic Extension Hair (optional)
Here are step-by-step instructions to make your Senegalese twist braids.
Step 1
Wash, detangle and blow dry your hair properly. (Don’t use oils on the hair before you apply the braids)
Step 2
Part a small section of hair and comb it out properly. Use small clips to keep the rest of the hair out of the way for braiding.
Step 3
Separate the piece of hair into two equal sections. Start twisting each section to the right until it starts to coil on itself (do this for about an inch in length).
If you’re adding extension hair, take a piece long enough to twist all the way past the ends of your hair (to however long you want to braid) and bend it across the two sections of your own hair.
Step 4
Take the two coiled sections of hair and take the piece in your right hand over the piece in your left hand once. Coil the sections to the right again, then take the piece in your right hand over and under the piece in your left hand again.
Step 5
Continue coiling and twisting the section of hair until you get all the way to the ends (the ends will stay in place).
Step 6
Continue to section off pieces of hair and coil and twist them until your entire head is done.
Step 7
Finish styling by (carefully) dipping the ends of your braids into a bowl of boiling hot water to seal the ends.
You can either braid the base of the hair as you would with regular box braids (for about an inch or so) or start twisting it right from the root.
Essiba! Welcome to the highly addictive blogging world:-)
ReplyDeleteThanks Wizzy. : )
ReplyDelete